Step-by-Step Guide: How to Install Solar Fence Post Lights for Maximum Sunlight
Install solar fence post lights for maximum sunlight by putting each cap on a post that sees open sky, then seating the housing square so the panel is not shaded by an eave, a rail, a tree, or the cap itself. MATULSA solar post cap lights are solar powered and made for wood and vinyl posts. Match black 3-color-changing caps to 4 in x 4 in tops, or white 3-color-changing caps to 3.5 in x 3.5 in or 4 in x 4 in tops. Sun is a placement step, not a setting on the light.
Walk the line at midday before any cap goes on
Midday shows which posts actually see sky. A corner that looks open at dusk can sit in tree shade from 10 a.m. to 3 p.m. Those hours are the charge window. Mark posts that stay bright on the top. Cross off posts under a roof, a dense canopy, or a tall neighboring wall.
A porch post under a solid roof is a poor solar install even when the size is perfect. A deck newel at the outer ring is usually the better candidate.
Write 3.5 or 4 beside each remaining top. Installation for sunlight still starts with fit. A cap that cannot sit will not keep a panel aimed at the sky.
Prep the top so the panel stays aimed up
Cut or confirm a square, firm top. Wood that is crowned or rotten will rock the housing and tilt the panel into its own shade. Vinyl that still wears a factory lid will perch the solar cap and can throw it in wind. Remove the lid if that plane is the seat. Do not stack two caps.
The solar face needs a clear view. Do not caulk over the panel. Do not bury the housing against a rail cap that casts a noon shadow across the cells. If a decorative finial or camera shades the top, that post is the wrong post.
Match black to 4x4 and white to 3.5 or 4 before fasteners or adhesive come out. Check listing photos so the style in the box is the style going on the post.
Seat the cap, then prove the panel still sees sky
Set the housing fully on the rim. A two-corner perch looks installed and still starves the panel. On wood, the top should be sound fiber. On vinyl, the sleeve should be firm and the wall should not crack. The goal is a cap that cannot rock when the fence moves in wind.
After the cap is seated, look at the panel from the sun's path. If an eave or privacy board shades the cells most of the day, move the light to a more open post.
Waterproof outdoor design still needs that seat. Rain should shed. A dished top under a level-looking cap is a puddle, and a puddle is not a sunlight problem, but it is an install fail beside one.
Charge and layout after the first posts are up
Give each newly seated cap a stretch of direct sun before judging the first night. A windowsill charge through glass is a weak test compared with the post in open sky. If a cap stays dim after honest sun, recheck shade, dirt on the panel, and whether the housing is fully seated.
Packs are 4 or 8. Install the sunlit posts first. Leave deep-shade posts empty. A mixed 3.5 and 4-inch fence may need two styles on two lists.
Maximum sunlight is a layout of open tops, not a denser row of caps. Extra housings in the shade do not harvest more sun.
Sunlit install versus a shade install
| Step | Maximum sunlight | Weak charge | | --- | --- | --- | | Choose the post | Open sky on the top at midday | Eave, canopy, or covered porch | | Prep the top | Square, firm, listed 3.5 or 4x4 | Crown, rot, leftover factory lid | | Seat the cap | Full rim, panel aimed up | Rocking or two-corner perch | | After install | Panel clear of rail and eave shadow | Caulk, debris, or a noon shadow on cells | | Pack plan | 4-pack or 8-pack for sunlit posts | Caps on every post including shade |
Maximum-sunlight install checklist
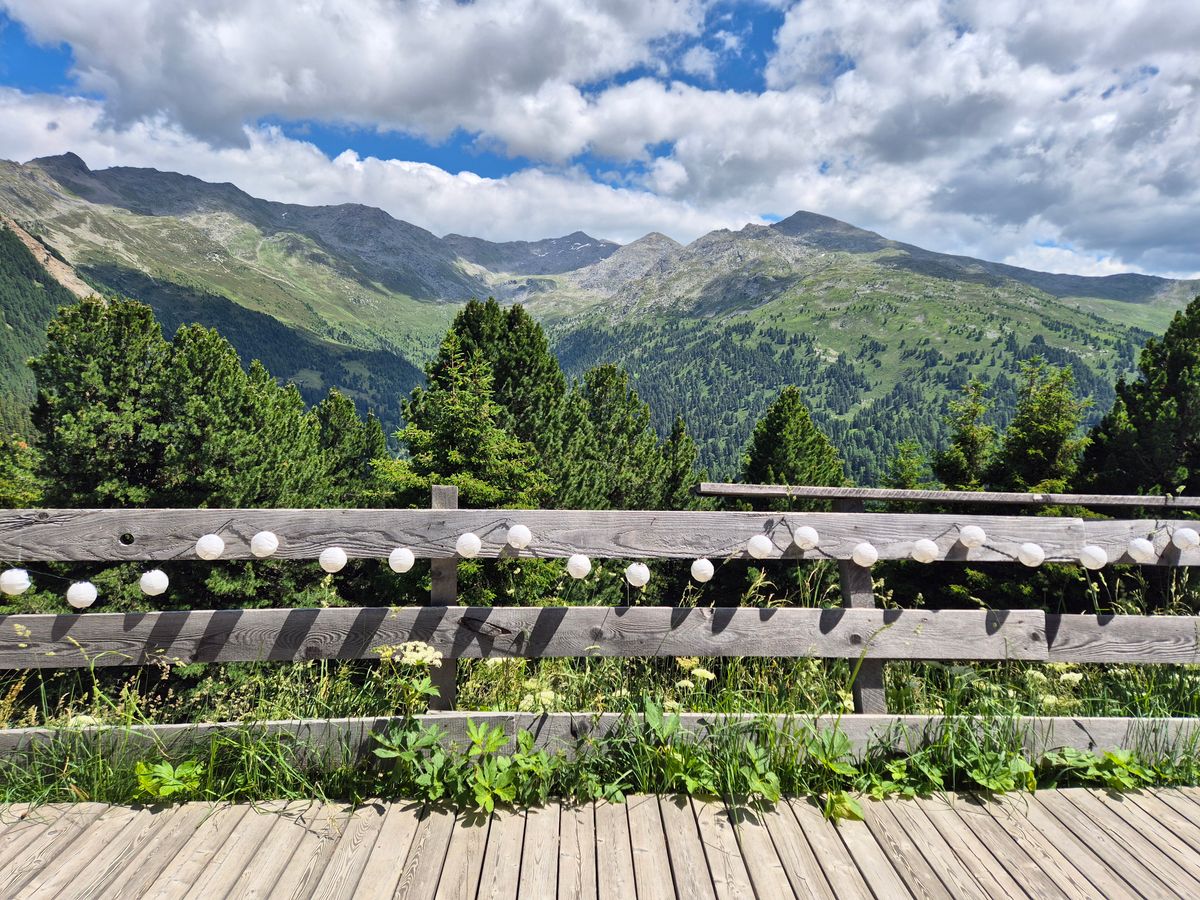
Photo by Anne van der Valk on Pexels
- Walk at midday and mark open-sky posts only.
- Measure each of those tops; write 3.5 or 4.
- Square wood; firm vinyl; remove extra lids.
- Match black 4x4 or white 3.5/4 from the listing photo.
- Seat the cap on the full rim so the panel faces the sky.
- Confirm no eave or rail shades the cells, then give the panel direct sun.
Frequently asked questions
Can a north-facing fence still take solar post caps?
Yes if the post top still sees open sky for a long stretch of day. A north wall with a deep overhang is a poor candidate.
Should the panel face a certain compass direction?
The panel needs sky, not a trench toward one heading. A level, unshaded face on the post top is the install goal.
Do these lights need wiring during install?
No. They are solar powered. The work is fit, seat, and sun, not a cable.
Can a shaded post be used if the cap is waterproof?
Waterproof outdoor design handles rain. It does not charge a panel that never sees sun.
Is vinyl harder to install for sunlight than wood?
Vinyl needs a firm sleeve and a clean top. Sun is the same sky. Material does not replace an open panel.
Related reading
Mounting and no-wiring setup pages that sit next to a sun-first install.
- how to install solar post cap lights on wood and vinyl
- 3-step setup for solar fence post lights without wiring
- installing solar post cap lights on wood and vinyl posts
- screw mount versus adhesive bases for solar post caps
What to do next
At midday, mark every wood or vinyl post whose top stays in open sky. Measure 3.5 or 4, match black or white 3-color-changing caps, and seat each housing so the panel cannot rock into shade. Install only those posts, in a 4-pack or 8-pack to the count. Maximum sunlight is that placement, not a denser row in the dark.