
How to Install Solar Post Cap Lights on Wood and Vinyl Fences
How to Install Solar Post Cap Lights on Wood and Vinyl Fences
Installing solar post cap lights is a straightforward DIY project that immediately transforms your backyard fence line. Before starting, review the main guide for advice on spacing and design.
Step 1: Measure Your Fence Posts
Accurately measure the outer dimensions of your posts. Standard nominal 4x4 wood posts measure 3.5 inches by 3.5 inches, while true 4x4 posts or hollow vinyl posts measure 4 inches by 4 inches. Ensure your selected model—such as White units fitting 3.5in3.5in or 4in4in Posts or Black units fitting 4in*4in Posts—matches your post type.Step 2: Unbox and Select Light Settings

Photo by Sóc Năng Động on Pexels
Remove the lights from the packaging (available in 4pcs or 8pcs packs). Locate the internal switch to activate the solar battery circuit. If your model includes 3 color changing light modes, toggle the switch to your preferred warm or cool temperature setting before mounting.
Step 3: Prepare the Post Surface
Clean top surfaces of dirt, sap, or debris. For wooden posts, check that the wood is dry. For vinyl posts, ensure the top edge is level and free from cracks.Step 4: Mount the Base Adapter
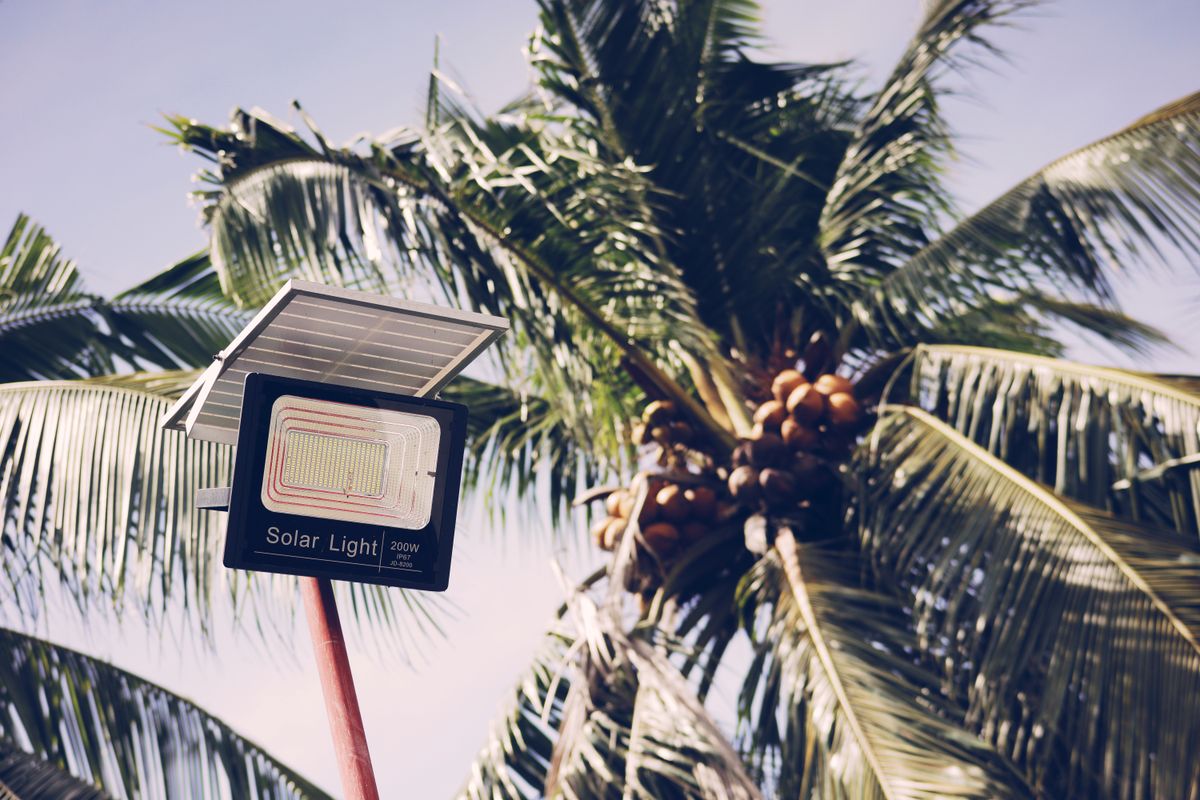
Photo by Nothing Ahead on Pexels
Place the mounting base flush onto the post top. Insert mounting screws using a drill fitted with a 1/4 inch bit. Drive screws securely into the pre-drilled holes, taking care not to overtighten plastic bases.
Step 5: Secure the Solar Light Unit
Align the top solar housing over the mounted base. Twist or snap the housing into place until firmly locked. Allow the solar panel to absorb direct sunlight for 6-8 hours hours prior to its first night of operation.Read the full guide: Outdoor Fence Lighting Ideas for Backyard: The Ultimate Guide
Cover photo by Sóc Năng Động on Pexels.