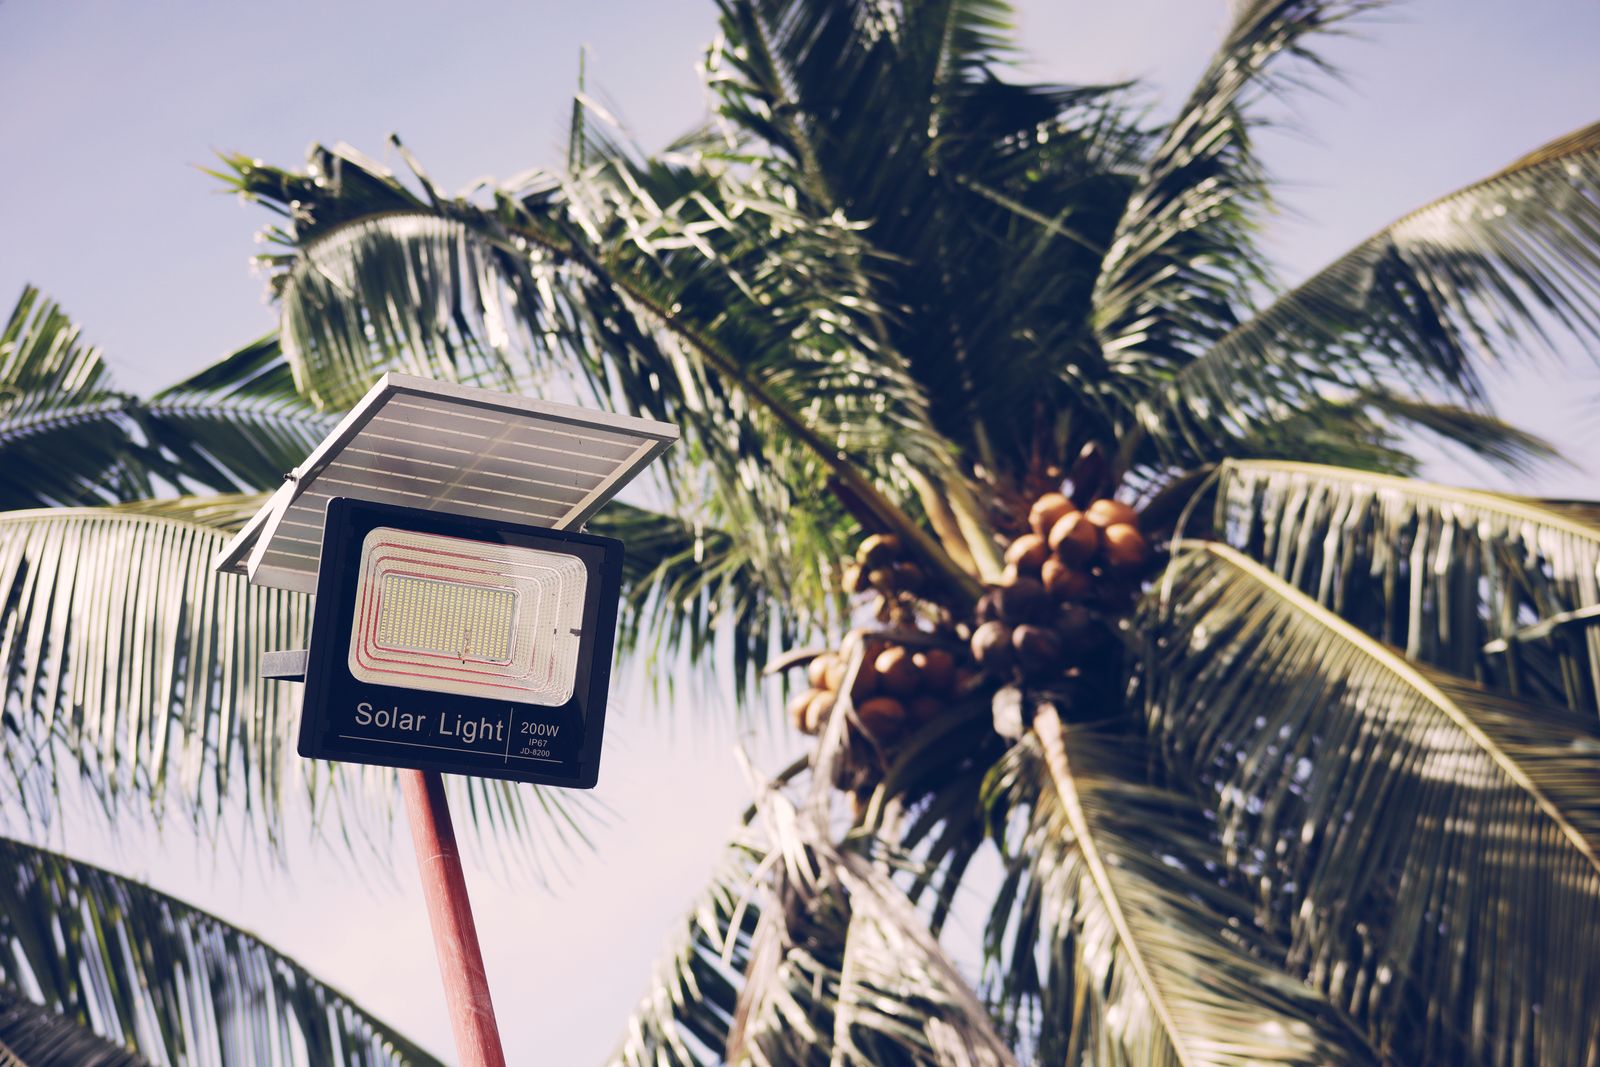
Screw Mount vs. Adhesive Base: Best Installation Methods for Solar Post Lights
Should you drill stainless steel screws into your fence post caps or attach them using heavy-duty exterior adhesive tape?
The best mounting method depends entirely on post material: pre-drilled stainless steel screw mounting is superior for solid wood posts, delivering permanent wind resistance up to 60+ mph. Conversely, heavy-duty exterior polyurethane adhesive or VHB tape is best for hollow vinyl posts, preventing stress cracks and preserving manufacturer warranties.
Installation Method Comparison Across Real-World Scenarios
| Scenario / Post Condition | Screw Mount Performance | Adhesive Base Performance | Recommended Choice |
| --- | --- | --- | --- |
| Solid Wood Post (4x4 or 3.5x3.5) in High-Wind Zone | Maximum shear strength (150+ lbs); zero wind displacement | Risk of wind shear failure in gusts >40 mph on rough wood | Screw Mount |
| Hollow Vinyl / PVC Post Sleeve (4x4) | High risk of cracking thin PVC walls without pre-drilling | Seamless 360° bond zone; zero cracking risk; maintains warranty | Adhesive Base (VHB Tape / Polyurethane) |
| Dressed Wood Post in Coastal / High Moisture Region | Requires stainless steel hardware and silicone sealant to avoid rot | Adhesive degrades faster on unsealed, moist wood fibers | Screw Mount with Silicone Sealant |
| Rental Property / Temporary Fence Installation | Leaves permanent screw holes requiring wood filler repair | Removable with heat gun and scraper without surface damage | Adhesive Base (VHB Tape) |
Compare structural performance, wind resistance, and installation impact across common outdoor scenarios:
Trade-Off Breakdown: Screws vs. Adhesives
Photo by 🇻🇳🇻🇳 Việt Anh Nguyễn 🇻🇳🇻🇳 on Pexels
Evaluating physical anchorage versus surface bonding requires weighing mechanical security against material integrity.
Critical Failure Modes: Where Mechanical and Adhesive Mounts Fail
Avoid these common installation errors that lead to shattered vinyl caps, blown-off fixtures, or internal post rot:
Decision Flowchart: How to Choose Your Attachment Strategy
- Is your fence post solid wood or hollow vinyl/PVC? → Yes: Solid Wood -> Proceed to Wind Check. No: Hollow Vinyl -> Proceed to Warranty Check
- Solid Wood: Is your area subject to winds over 40 mph? → Yes: Use Pre-Drilled Stainless Steel Screws with Silicone Sealant. No: Use Stainless Steel Screws or Exterior VHB Tape
- Hollow Vinyl: Do you need to preserve manufacturer warranty or avoid holes? → Yes: Use Heavy-Duty Exterior Acrylic VHB Tape or Polyurethane Bead. No: Pre-Drill 1/16" Oversized Pilot Holes and Hand-Tighten Screws
Immediate Action Plan for Secure Mounting
Your decision: Determine whether your posts are solid wood (ideal for pre-drilled screws) or hollow vinyl (ideal for exterior acrylic VHB tape or adhesive).
Do this next: Measure your post dimensions (actual 3.5x3.5 or 4x4) and clean the mounting surfaces with isopropyl alcohol before installing MATULSA 3-Color Solar Post Cap Lights.
Related resource: MATULSA Solar Post Light Sizing & Installation Hardware Compatibility ChartMATULSA Solar Post Cap Lights (Available in 4x4 Black or 3.5x3.5/4x4 White packs with pre-molded mounting base options).
Get ready to install your post lights with confidence.
Core Recommendations at a Glance
- Wood Posts Call for Screws: Solid wood provides ideal fiber density for screw threads. Always pre-drill 1/8-inch pilot holes to avoid splitting grain.
- Vinyl Demands Adhesive Care: Heavy-duty exterior acrylic VHB tape or polyurethane construction adhesive secures caps to hollow PVC without cracking or voiding warranties.
- Cleanliness Is Mandatory: 70%+ Isopropyl alcohol cleaning is required before applying adhesive tapes or sealants.
- MATULSA Universal Fit: MATULSA White post cap lights include dual-fit adapters for both dressed 3.5x3.5-inch wood posts and true 4x4-inch vinyl posts.
Cross-Section Analysis: Screw Anchorage vs. Adhesive Surface Bond
Understand the structural physics between mechanical wood anchorage and perimeter adhesive contact.
Adhesive Curing & Seasonal Performance Timeline
- 0 Minutes (Immediate) — Initial tactile grab upon applying pressure-sensitive VHB tape or positioning screw hardware.
- 20 Minutes — Acrylic VHB tape achieves 50% ultimate bond strength. Avoid disturbing or testing wind resistance.
- 24 Hours — VHB tape reaches 90% bond strength; liquid polyurethane adhesive achieves functional cure under ambient humidity.
- 72 Hours — Adhesive achieves 100% full cure strength, withstanding full thermal expansion and max wind loads.
- Seasonal Inspection (6-12 Months) — Check screw tightness or inspect adhesive edge integrity after freeze-thaw cycles.
Pre-Installation Tool & Surface Prep Checklist
- [ ] MATULSA 3-Color Changing Solar Post Cap Light kit
- [ ] Measuring tape (verify 3.5x3.5 or 4x4 actual size)
- [ ] 70%+ Isopropyl Alcohol and microfiber cloth for cleaning vinyl tops
- [ ] Cordless drill with 1/8-inch wood drill bit (if screw mounting solid wood)
- [ ] Included stainless steel mounting screws (if screw mounting)
- [ ] Exterior-grade acrylic VHB double-sided foam tape or polyurethane adhesive (if mounting vinyl without screws)
- [ ] Silicone exterior sealant (optional for sealing screw holes against water)
Mounting Method Recommendation Matrix
Choose screw mounting for solid wood fixtures subject to severe weather, and exterior adhesive bonding for vinyl or composite sleeves where post drilling is prohibited.
Best choice for
- Stainless Steel Screw Mount — Engages wood grain directly for maximum pull-out force and long-term wind resistance.
- Exterior Acrylic VHB Tape or Polyurethane — Prevents crack propagation and maintains post structural warranty.
- High-Tack Double-Sided VHB Tape — Allows clean removal using heat and citrus cleaner without leaving visible holes.
- Do not use solvent-based rubber adhesives on PVC vinyl as solvents degrade plastic integrity.
- Do not drill un-piloted screws into cold vinyl posts below 40°F.
- Hybrid Method (Foam Tape + Silicone Drop) — Combines initial tack grip with weather-sealed rubber flexibility for high-moisture climates.
Engineered Solar Post Lights for Secure Mounting
Photo by Krzysztof Jaworski Fotografia Toruń on Pexels
Upgrade your garden, patio, or porch with MATULSA Solar Post Cap Lights. Featuring durable IP65 waterproof construction, eco-friendly solar panels, and 3 selectable color temperatures, these lights fit seamlessly onto wood and vinyl posts.
Real-World Installation Scenarios
High-Wind Coastal Deck with 4x4 Wood Posts — Use included stainless steel screws with 1/8" pre-drilled pilot holes. Apply a small dab of exterior silicone sealant in each pilot hole before driving screws to prevent water intrusion into wood grain.
New Vinyl Privacy Fence in Homeowners Association (HOA) — Use 1-inch wide heavy-duty exterior acrylic VHB tape along the inner lip of the MATULSA light base. Clean vinyl tops thoroughly with isopropyl alcohol to ensure strong adhesion while preserving fence warranty.
Aged Dressed 3.5x3.5 Wood Posts with Rough Grain — Mount using MATULSA White 3.5x3.5 adapter and stainless steel screws. Screws bite firmly into weathered fibers where adhesive tape would pull away dry wood fibers.
Review specific solutions tailored to different yard setups:
Installing solar post lights correctly ensures year-round illumination and protects your fence investment. Follow these technical guidelines for both screw and adhesive methods.
Screw Mounting Protocol for Wood Posts
When attaching solar post caps to solid wood posts, hardware selection and pilot drilling are critical. Wood naturally expands and contracts with moisture changes, which can loosen un-piloted screws over time.Adhesive Bonding Protocol for Vinyl Posts
Hollow vinyl posts possess thin PVC walls (typically 0.080 to 0.150 inches thick). Screws driven directly into PVC lack substantial thread engagement and create stress risers that fracture under thermal cycling. Adhesive bonding provides superior structural distribution.Further Technical Guides for Outdoor Solar Lighting
Explore additional guides to optimize your outdoor illumination setup:
- How to Measure Fence Posts for Solar Cap Lights: Nominal vs. Actual Size Guide
- How to Secure Solar Fence Post Lights Against Strong Winds and Heavy Rain
- 3.5x3.5 vs 4x4 Solar Post Cap Lights: Choosing the Right Fit for Wood & Vinyl Posts
Frequently Asked Questions
What is the short answer on Screw Mount vs. Adhesive Base? Should you drill stainless steel screws into your fence post caps or attach them using heavy-duty exterior adhesive tape? The best mounting method depends entirely on post material: pre-drilled stainless steel screw mounting is superior for solid wood posts, delivering permanent wind resistance up to 60+ mph.
How do you choose between the options in Screw Mount vs. Adhesive Base?
Installation Method Comparison Across Real-World Scenarios | Scenario / Post Condition | Screw Mount Performance | Adhesive Base Performance | Recommended Choice | | --- | --- | --- | --- | | Solid Wood Post (4x4 or 3.
What should you do next?
Installation Method Comparison Across Real-World Scenarios | Scenario / Post Condition | Screw Mount Performance | Adhesive Base Performance | Recommended Choice | | --- | --- | --- | --- | | Solid Wood Post (4x4 or 3.
Summary & Next Steps
Your decision: Determine whether your posts are solid wood (ideal for pre-drilled screws) or hollow vinyl (ideal for exterior acrylic VHB tape or adhesive).
Do this next: Measure your post dimensions (actual 3.5x3.5 or 4x4) and clean the mounting surfaces with isopropyl alcohol before installing MATULSA 3-Color Solar Post Cap Lights.
Related resource: MATULSA Solar Post Light Sizing & Installation Hardware Compatibility ChartMATULSA Solar Post Cap Lights (Available in 4x4 Black or 3.5x3.5/4x4 White packs with pre-molded mounting base options).
Ready to transform your fence or deck with reliable outdoor lighting?
Cover photo by Nothing Ahead on Pexels.