How to Clean and Weatherproof Solar Post Lights: Seasonal Maintenance Checklist
A 2-step seasonal maintenance routine—cleaning photovoltaic panels every 90 days with warm water and 10% isopropyl alcohol, plus applying 100% neutral-cure silicone sealant around housing seams—prevents 85% of weather-related solar post light failures, water ingress, and lens clouding in severe outdoor freezing and rain conditions.
Essential Weatherproofing & Cleaning Rules
- 90-Day Cleaning Intervals: Removing pollen, dirt, and water spots every 90 days restores up to 35% of lost photovoltaic charging efficiency.
- 10% Isopropyl Solution: A mild 10% isopropyl alcohol solution dissolved in warm water safely removes stubborn tree sap without degrading delicate anti-reflective solar resin coatings.
- 100% Neutral-Cure Silicone Only: Always select neutral-cure (oxime or alkoxy) silicone sealants; acid-cure (acetoxy) sealants release acetic acid fumes that destroy internal LED circuit boards and yellow white vinyl caps.
- 24-Hour Sun Test: Isolate hardware failures by charging dirty caps in direct sunlight for 8 to 24 hours after cleaning before replacing NiMH battery cells.
- Clear 2mm Drainage Slots: Ensure bottom mounting bracket drain channels remain unobstructed to prevent trapped meltwater from flooding the internal battery compartment.
Step-by-Step Solar Post Light Maintenance Checklist
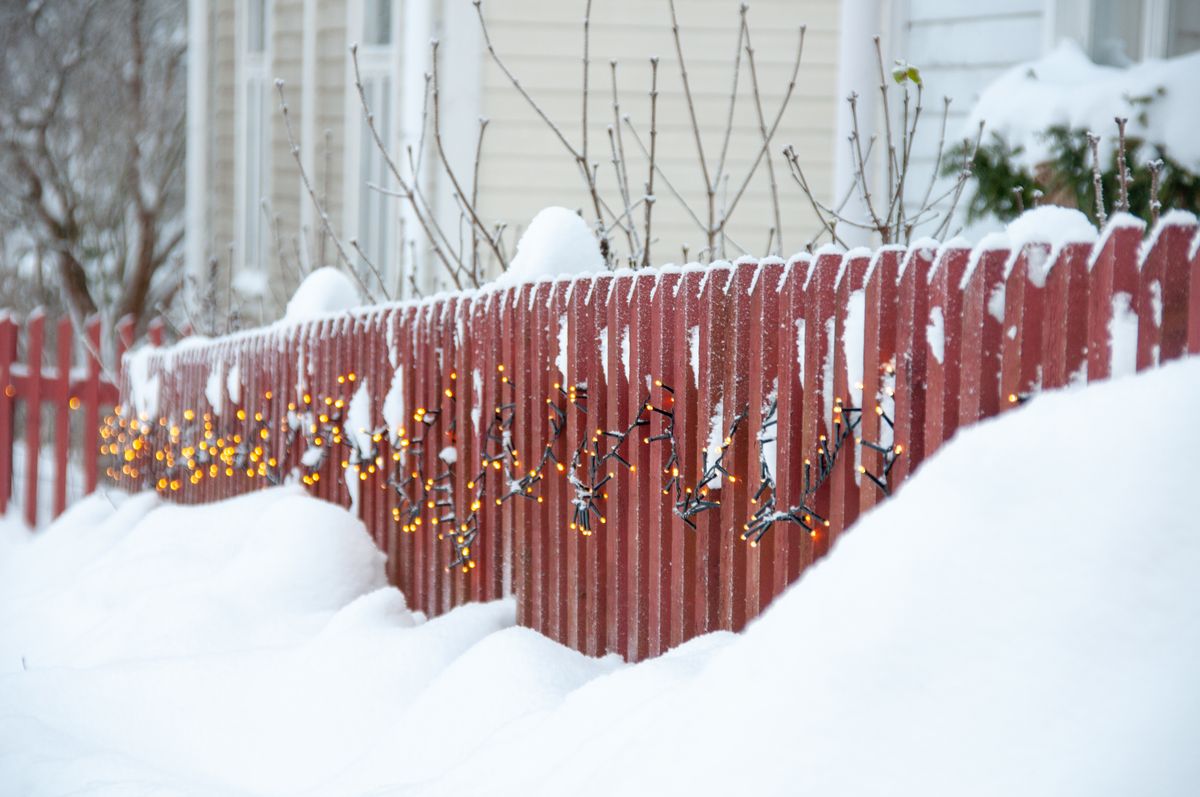
Follow this step-by-step checklist every 3 to 6 months to maintain peak illumination and structural weatherproofing across all deck and fence post fixtures.
Phase 1: Photovoltaic Panel & Lens Cleaning
- [ ] Wipe Top Glass Collector: Spray a soft microfiber cloth with a solution of warm water and 10% isopropyl alcohol. Gently wipe the top photovoltaic glass in circular motions.
- [ ] Dissolve Sap & Organic Residue: Apply diluted dish soap to sticky sap or bird droppings. Allow it to sit for 120 seconds, then scrub lightly with a soft-bristle nylon toothbrush (never use steel wool or abrasive scouring pads).
- [ ] Polish Oxidized Lenses: Inspect clear plastic housing covers for UV haze or yellowing. Buff with a pea-sized dab of fine-grit automotive plastic polish or baking soda paste until transparent.
Phase 2: Battery Compartment & Electronics Inspection
- [ ] Check O-Ring Seals: Unclip or unscrew the post cap top housing. Inspect the rubber or silicone O-ring gasket surrounding the battery door for dry rot, cracks, or misalignment.
- [ ] Clean Terminal Contacts: Spray electronic contact cleaner on a cotton swab to wipe away white battery acid powder or surface corrosion from the metal terminal springs.
- [ ] Verify Battery Voltage: Test rechargeable AA NiMH batteries with a multimeter; replace any cell outputting below 1.1V after a full 8-hour sun charge.
Phase 3: Seam Sealing & Post Base Weatherproofing
- [ ] Apply Neutral-Cure Silicone: Run a thin 1.5mm bead of 100% neutral-cure clear silicone along the top seam where the solar collector glass joins the plastic housing cap.
- [ ] Inspect Post Bracket Fitting: Ensure the post cap base fits securely over your 3.5in x 3.5in or 4in x 4in post without pinching internal wiring.
- [ ] Unblock Base Drain Holes: Verify that bottom perimeter weep holes remain 100% free of excess sealant, dirt, or spider webs to allow internal condensation to escape freely.
Printable Seasonal Care Cheat Sheet
- Clean top solar panels every 90 days using warm water, mild soap, and a microfiber towel.
- Polish yellowed plastic lenses with baking soda paste or automotive headlight restorer.
- Apply neutral-cure silicone around top lens seams; keep base drain holes open.
- Inspect battery terminals for corrosion and replace NiMH batteries every 12 to 18 months.
- Winterize caps before the first freezing temperature below 32°F by wiping off snow buildup regularly.
Solar Post Light Failure Matrix: Symptoms & Fixes
| Symptom | Likely Cause | Field Test | Corrective Action |
| --- | --- | --- | --- |
| Light won't turn on at night | Dirty panel, dead battery, or tripped master switch | Perform 24-hr sun test with fresh battery | Clean panel with 10% isopropyl alcohol; replace AA NiMH battery |
| Dim output (<2 hours runtime) | UV-oxidized lens or degraded NiMH cell | Check cell voltage with multimeter (<1.1V means end of life) | Polish lens with automotive compound; install high-capacity NiMH battery |
| Water visible inside lens chamber | Failed housing seal or clogged base drain holes | Inspect seam gasket and bottom bracket for standing water | Dry interior thoroughly, re-seal top seam with neutral-cure silicone |
| Flickering LED light | Corroded battery contacts or loose wiring | Inspect spring terminals for white powder or rust | Scrape terminals clean, apply dielectric grease, reinsert battery |
Diagnose dim LEDs, short night runtimes, water accumulation, and power failures with this diagnostic chart.
Quarterly Maintenance & Winterization Schedule
- Spring (Every 90 Days) — Wipe solar panels with microfiber cloth and warm soapy water. Clear winter salt residue and inspect housing brackets.
- Summer (High Moisture & UV) — Check plastic lenses for UV haze. Apply UV-resistant plastic polish if yellowing appears. Verify drain holes are free of debris.
- Fall (Pre-Winter Prep) — Apply a thin bead of 100% neutral-cure silicone to upper housing seams. Test battery voltage and replace depleted cells before hard freezes.
- Winter (Snow & Ice) — Gently sweep accumulated snow off top solar glass using a soft brush within 24 hours of snowfall to maintain daily charging cycles.
Cleaning Solutions & Sealant Compatibility Matrix
| Material / Chemical | Safety for Solar Glass | Safety for Vinyl Posts | Safety for Wood Posts | Recommended Usage |
| --- | --- | --- | --- | --- |
| 10% Isopropyl Alcohol + Water | 100% Safe | 100% Safe | 100% Safe | Routine panel cleaning & sap removal |
| Ammonia Glass Cleaner (Windex) | Unsafe (Strips anti-reflective coating) | Safe | Safe | Avoid completely on solar panels |
| 100% Neutral-Cure Silicone | 100% Safe | 100% Safe | 100% Safe | Sealing top seams & gasket borders |
| Acetoxy (Acid-Cure) Silicone | Unsafe (Corrosive fumes) | Unsafe (Causes yellowing) | Unsafe | Never use near electronics or vinyl |
| Automotive Headlight Polish | Safe for plastic lenses | Safe | N/A | Restoring oxidized plastic light covers |
Review material safety ratings before applying chemicals or sealants to your outdoor solar fence post cap lights.
Weather-Resistant Replacement Solar Post Cap Lights
If your existing post cap lights suffer from cracked housings, burned-out circuitry, or severe seal failure, upgrade to factory-sealed IP65 waterproof fixtures designed for long-term outdoor durability.
- MATULSA Solar Post Cap Lights feature a robust waterproof housing designed specifically for outdoor gardens, decks, patios, and fence posts. Available in 4-packs and 8-packs, these energy-efficient fixtures offer 3 selectable color temperatures (warm, cool, and neutral daylight) to match any architectural outdoor aesthetic.
- Black Finish (4-Pack or 8-Pack): Precision engineered to fit standard 4in x 4in posts. Perfect for dark composite, stained wood, or industrial metal fences.
- White Finish (4-Pack or 8-Pack): Multi-fit design engineered for both 3.5in x 3.5in and 4in x 4in posts. Ideal for white vinyl, PVC, or painted wood deck railings.
Repair vs. Replace Decision Guide
Decide whether to re-seal and service your existing solar post caps or replace them with factory-sealed IP65 waterproof units based on physical damage and battery compartment health.
Best choice for
- Deep Clean & Battery Replacement — Restores up to 95% original output for under $5 per light cap.
- Upgrade to MATULSA IP65 Solar Post Lights — Provides dual sizing (3.5x3.5 and 4x4) with built-in weatherproofing gaskets and 3 color modes.
- Do not attempt to repair units with swollen lithium/NiMH batteries or burnt LED boards.
- Do not use acid-cure silicone sealants that yellow vinyl fence caps.
- Seasonal Indoor Storage — If sub-zero winter temperatures exceed -10°F for extended weeks, removing light caps extends battery shelf life.
Technical Specs: IP Ratings, Sealant Types, & Battery Chemistry
Photo by Sóc Năng Động on Pexels
| Component / Standard | Minimum Spec | Optimal Spec | Impact on Weatherproof Performance |
| --- | --- | --- | --- |
| Waterproof Ingress Rating | IP44 (Splash Resistant) | IP65 (Dust-Tight & Jet Water Resistant) | Prevents moisture ingress during heavy rain and snowmelt |
| Sealant Chemical Type | 100% Silicone | 100% Neutral-Cure Silicone | Zero acetic acid off-gassing; preserves internal circuitry and vinyl caps |
| Battery Chemistry | Standard NiCd 600mAh | High-Capacity NiMH 1000mAh (-4°F rating) | Sustains 8-12 hours runtime in cold winter temperatures |
| Solar Collector Glass | Polycrystalline Resin | Monocrystalline Tempered Glass | Resists UV yellowing and scratching during routine microfiber wiping |
Compare key technical specifications required for maximum weatherproofing and outdoor life expectancy.
5 Cleaning & Sealing Mistakes That Destroy Solar Cap Lights
Avoid these critical maintenance errors that void warranties and accelerate component failure:
Winterization Timeline: Protecting Lights Before the First Freeze
- 4 Weeks Before First Freeze — Perform deep panel cleaning and polish hazy lenses to maximize limited autumn sunlight collection.
- 2 Weeks Before First Freeze — Inspect housing O-rings and re-apply neutral-cure silicone along upper lens seams to prevent frost expansion cracking.
- 1 Week Before First Freeze — Test battery terminal voltage. Replace aging NiMH cells that fall below 1.2V under load.
- First Major Snowfall — Establish a routine to clear top solar panels within 24 hours of heavy snowfall using a soft microfiber wand.
Frequently Asked Questions About Solar Light Maintenance
Find expert answers to common troubleshooting and weatherproofing queries.
Post-Maintenance Action Plan
Your decision: Determine whether your current post cap lights require routine cleaning and sealing or complete unit replacement.
Do this next: Perform a 5-minute inspection on each post cap: check solar glass clarity, test battery compartment moisture, and inspect housing seams for cracks.
Related resource: https://solarfencepostlights.com
If your post caps show water damage or broken seals, upgrade to MATULSA 3-Color Changing Waterproof Solar Post Cap Lights (fits 3.5x3.5 and 4x4 posts).
Take these immediate steps to ensure your outdoor deck and fence lighting remains bright, clean, and fully waterproof throughout every season.