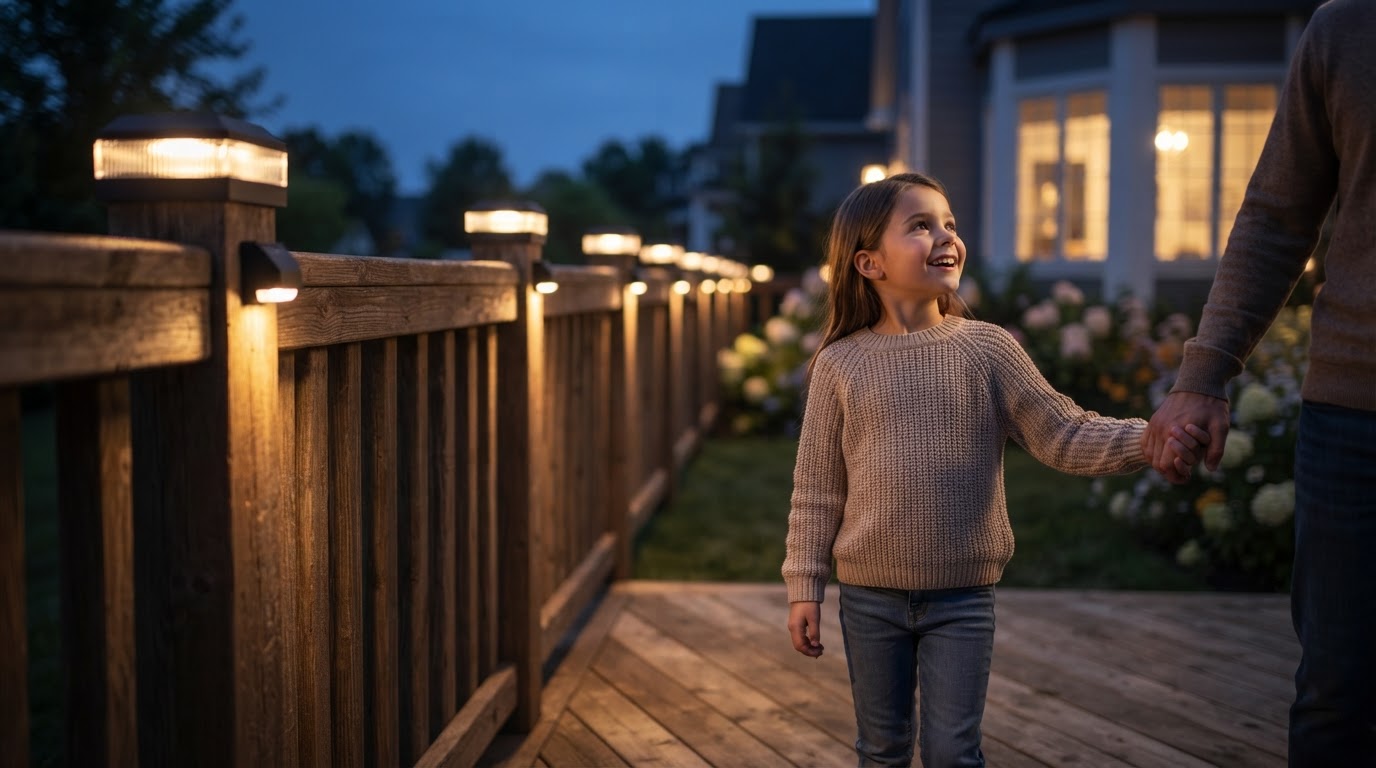
Installing Solar Fence Post Lights for Home Security
 Sam VasquezBuying Guide Lead
October 15, 2026. This guide covers the physical installation and placement strategy for mounting solar-powered caps onto residential boundary fences. It is written for homeowners who want to improve perimeter visibility without hiring an electrician.
The Challenge of Dark Perimeter Fences
Most residential properties rely on a single floodlight near the back door, which leaves the corners of the yard in deep shadow. This isn't just an aesthetic issue; dark perimeters are a security vulnerability. When I look at a standard privacy fence, I see a missed opportunity for passive security. However, the cost of trenching electrical lines to every post is often prohibitive, costing thousands in labor and materials. This is where self-contained units become practical. Before you start mounting hardware, you need to ensure you have the right fit. I always recommend you learn how to measure fence post caps first, because even a quarter-inch difference will prevent a secure mount.
If you are working with specific materials, such as synthetic fencing, you should look into solar vinyl fence lights specifically, as they often use internal brackets rather than external screws. The goal here is to create a continuous line of light that eliminates blind spots. A common mistake is spacing lights too far apart. For a standard 6-foot privacy fence, placing a light on every other post usually provides enough overlap to prevent dark gaps. If you're on a budget, you might be tempted to just buy the cheapest stake lights available, but those don't provide the elevation needed to cast light across the yard. Skip this if you already have high-voltage landscape lighting installed; solar units won't match the raw lumen output of a wired 120V system, but for most of us, they are the smartest middle ground.
Proper Mounting for Solar Fence Post Lights
The installation process varies slightly depending on your post size. Most modern decks use 4x4 solar post caps, while larger estate fences might require solar lights for 6x6 posts. The first step is to remove the top tab to activate the battery. Most units ship with a pull-tab to prevent the battery from draining in the box. Once active, you’ll place the base onto the post. If you have a wood post, I prefer pre-drilling small pilot holes to prevent the wood from splitting, especially with cedar or pressure-treated lumber. For those who want the fastest possible setup, choosing an easy install solar post caps no wiring model allows you to secure the light with just two screws in under three minutes.
Between these two common methods—bracket mounting versus direct screw-through—I’d go with the bracket mount every time. It allows you to pop the light off the post easily if you need to replace the rechargeable NiMH battery or clean the solar panel. Maintenance is the one thing people forget. Because these sit outside 24/7, the solar cells will eventually collect a film of dust or pollen. A quick wipe with a damp cloth every six months keeps the charging efficiency high. In my experience, a well-placed light with a clean panel will stay illuminated for 8 to 10 hours, even after a relatively cloudy day. If you live in an area with heavy tree cover, you need to be strategic; the sensor needs at least 4-6 hours of direct sunlight to perform as advertised.
Selection and Installation Checklist
Choosing the right hardware is half the battle. You need to balance the color temperature with the existing lights on your home. Most modern solar units come in 'cool white' or 'warm white.' For a residential backyard, warm white (around 3000K) is much more inviting and doesn't have that harsh blue tint found in older solar technology. Here’s what I’d actually buy: a unit with a glass lens rather than plastic. Plastic lenses tend to yellow and cloud over after two summers in the sun, whereas glass stays clear for the life of the product.
Before you drive the first screw, run through this checklist to ensure the installation lasts:
- Verify the post dimensions (nominal vs. actual) to ensure the cap sits flush without wobbling.
- Check the orientation of the solar panels; they should face upward with clear access to the sky.
- Test the battery activation by covering the solar sensor with your hand to see if the LED triggers.
- Use stainless steel screws to prevent rust streaks from running down your fence boards.
- Space the units consistently—usually every 6 to 8 feet—to create a professional, uniform look.
- Ensure the mounting surface is level so the light beam isn't tilted at an awkward angle.
Shop Solar Fence Post Lights here