Solar Post Cap Light Troubleshooting: How to Restore & Repair Outdoor Deck Lights
Is your solar post cap light dim, flickering, or failing to turn on at dusk? In over 80% of outdoor fixtures, the failure stems from dirty solar panel glass, oxidized battery spring contacts, or a deeply drained Ni-MH rechargeable battery cell. Perform a 72-hour deep solar charge with the power switch OFF, clean terminal corrosion, and polish the panel lens to restore full illumination.
Visual Diagnostic Flowchart: Pinpointing the Root Cause
- Does the LED turn on when the solar panel is completely covered in a dark room? → Yes: Photo-sensor and circuit are operational. Issue is daytime sunlight exposure or battery runtime capacity.. No: Check internal power switch state (ON vs OFF) and battery terminal contacts for white corrosion..
- Is there visible white or green oxidation on the battery compartment springs? → Yes: Scrape terminals with fine sandpaper or cotton swab dipped in white vinegar, then insert fresh Ni-MH battery.. No: Proceed to battery voltage and solar panel lens clarity test..
- Does the fixture turn off after 1-2 hours of nighttime operation? → Yes: Perform a 72-hour deep charge with switch OFF, or replace degraded 1.2V AA/AAA Ni-MH cell.. No: Inspect housing seals for water pooling or condensation short-circuiting the circuit board..
Solar Cap Light Symptom vs. Solution Matrix

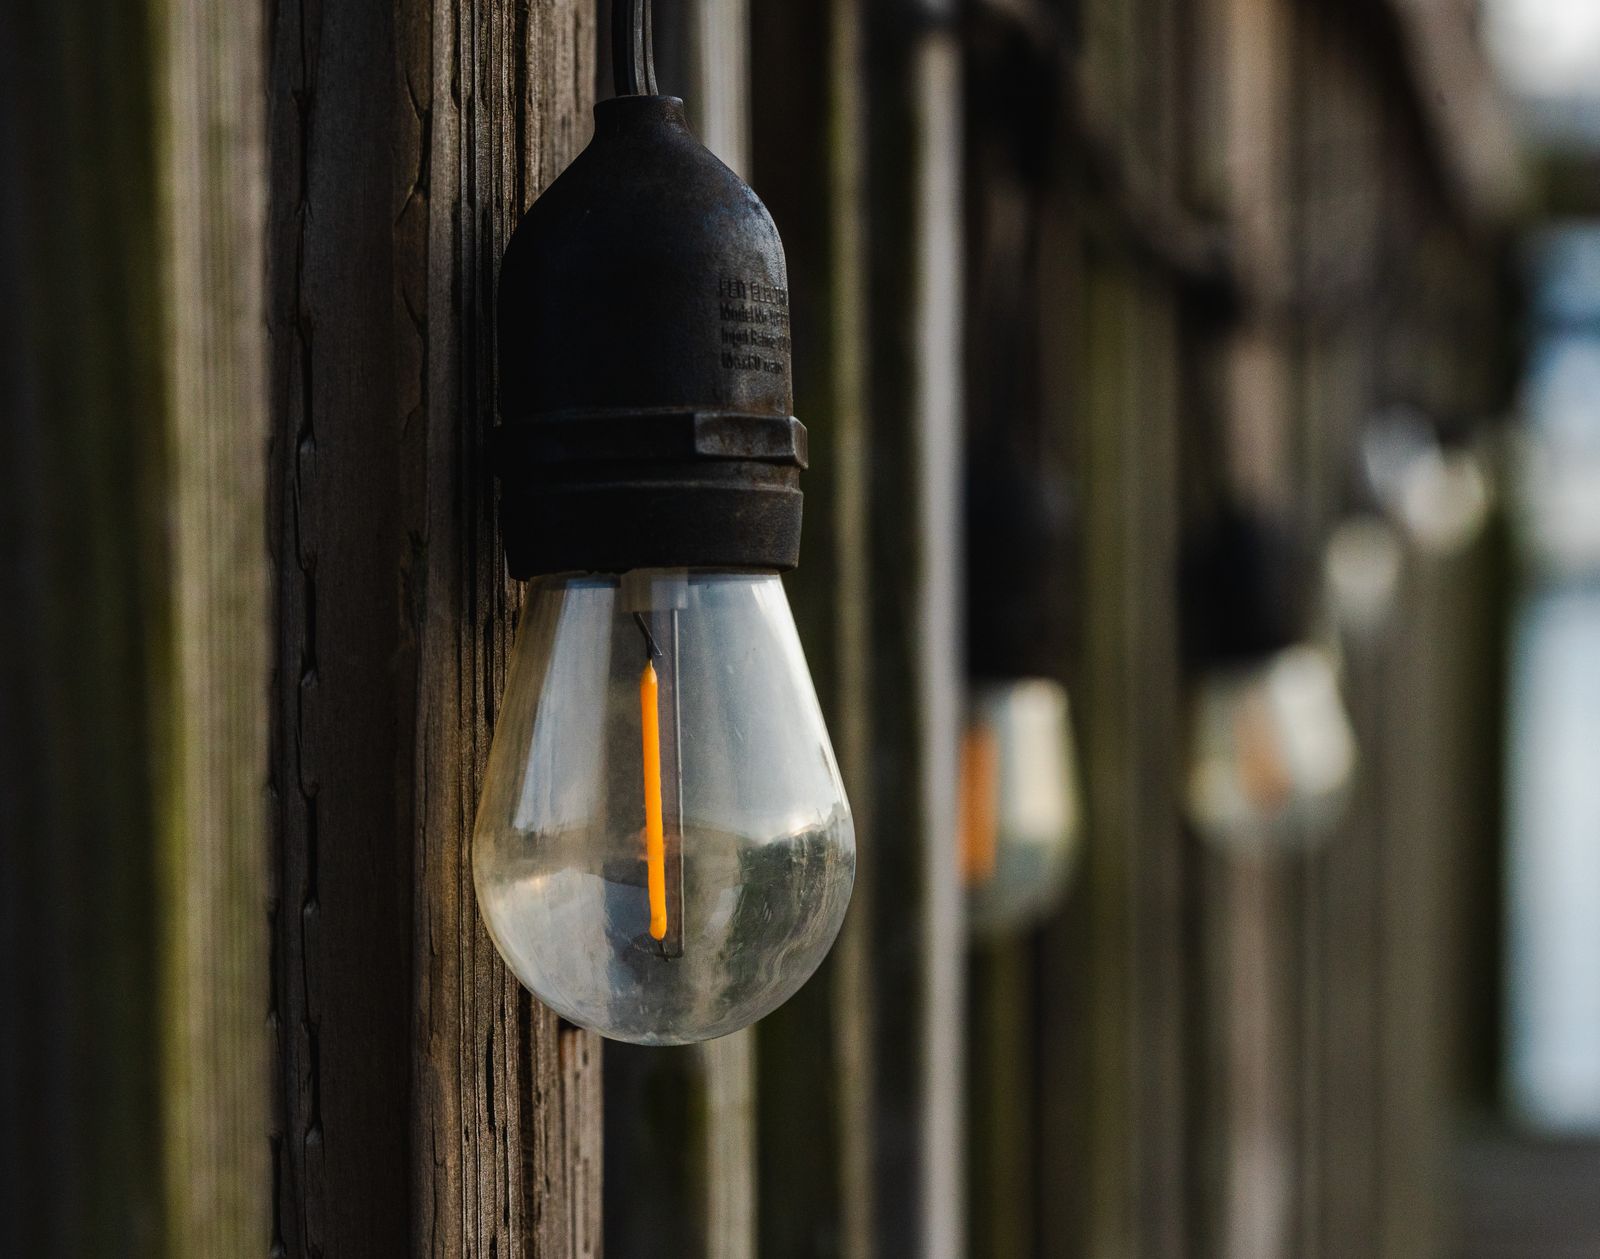
Photo by Anne van der Valk on Pexels
| Failure Mode / Symptom | Probable Cause | Quick DIY Fix | Permanent Solution |
| --- | --- | --- | --- |
| Total Illumination Failure (No Light) | Switched OFF, dead Ni-MH battery, or terminal corrosion | Toggle switch ON, cover panel to test, clean battery contacts | Replace 1.2V rechargeable Ni-MH battery cell |
| Dim or Faint Nighttime Glow | Oxidized/hazy solar lens or insufficient sun exposure | Wipe panel with microfiber cloth and isopropyl alcohol | Polish lens with baking soda paste; trim overhanging branches |
| Rapid Daytime Flickering | Ambient artificial light striking photo sensor or loose battery fit | Reposition fixture away from porch spotlights; adjust terminal springs | Ensure secure spring tension on battery terminals |
| Early Shut-Off (Runs < 2 Hours) | Sulphated battery plates or severe winter daylight reduction | Turn switch OFF for 3 full sunny days to deep charge | Upgrade to higher capacity 1000mAh Ni-MH rechargeable battery |
| Internal Condensation / Moisture | Worn rubber O-ring or clogged bottom drainage channel | Dry interior with hair dryer on cool setting | Apply clear exterior silicone bead along top lens perimeter joint |
Compare your solar post cap light's specific failure mode against root causes and actionable DIY remedies.
Expert Field Tip: The 3-Day Deep Solar Charge Reset
When solar post cap lights sit through prolonged rainy periods or winter months, their internal Nickel-Metal Hydride (Ni-MH) batteries can drop below their minimal operating threshold. Because the circuit continuously attempts to power the LED at night, the panel cannot catch up during short daytime daylight windows.
The Fix: Turn the manual power switch to the OFF position and leave the fixture in direct sunlight for 72 consecutive hours. Turning the unit off allows the photo-voltaic panel to direct 100% of generated current into reconditioning the battery chemistry without any nocturnal energy draw. After 3 days, switch the light back ON at dusk. This protocol revives seemingly dead post caps in over 60% of cases.
Component Isolation: Battery, Sensor, or Solar Panel Issue?
- Step 1: Is the top solar glass clear or cloudy/yellowed? → Yes: Proceed to Step 2 (Sensor Test).. No: Solar panel glass is oxidized, preventing UV absorption. Polish with mild abrasive toothpaste or automotive headlight restorer.
- Step 2: Does the light turn ON when brought into a pitch-black room? → Yes: Photo sensor functions correctly. Proceed to Step 3 (Battery Runtime Check).. No: Bypass sensor by checking switch position. If still unlit, replace battery or clean corroded terminal springs.
- Step 3: Does a freshly charged AA/AAA Ni-MH battery restore full brightness? → Yes: Original battery was depleted or end-of-life. Dispose of old battery properly.. No: Internal circuit board or LED wiring has suffered moisture corrosion. Replace the post cap unit.
Actionable Next Steps for Deck Light Restoration
Your decision: Determine whether your current post cap lights are repairable with simple battery maintenance or require waterproofing upgrades.
Do this next: Perform the 3-day deep solar charge test and wipe panel glass with a micro-abrasive polishing pad.
- Read next: Troubleshooting Water Leaks in Solar Post Caps: Moisture & Sealing Guide
MATULSA Waterproof 3-Color Changing Solar Post Cap Lights (4x4 & 3.5x3.5 fit)
Ready to fix your deck ambiance? Start with the 3-day deep solar charge reset, clean your solar panel lenses, and inspect the battery compartment. If your existing fixtures have internal moisture damage or corroded circuit boards, upgrade to weather-resistant multi-fit post caps built for long-term outdoor durability.
Recommended Weather-Resistant Replacements & Upgrade Options
When existing solar cap lights suffer permanent circuit board failure or shattered housings, replacing them with IP65-rated, multi-fit solar cap lights prevents recurring weather issues.
Essential Rules for Year-Round Solar Post Light Care
Photo by Sóc Năng Động on Pexels
Keep these core maintenance rules in mind to maximize the lifespan and illumination output of your outdoor post cap lights.
Step-by-Step DIY Repair Protocol for Solar Fence Caps
Follow this detailed procedural checklist to clean, restore, and seal your outdoor solar deck post lights.
5 Critical Mistakes That Cause Premature Solar Cap Failure
Avoid these common DIY errors that compromise weatherproofing, destroy battery circuitry, or permanently cloud light lenses.
Frequently Asked Questions About Solar Post Light Maintenance
Get fast answers to technical maintenance, battery selection, and weatherproofing questions.